
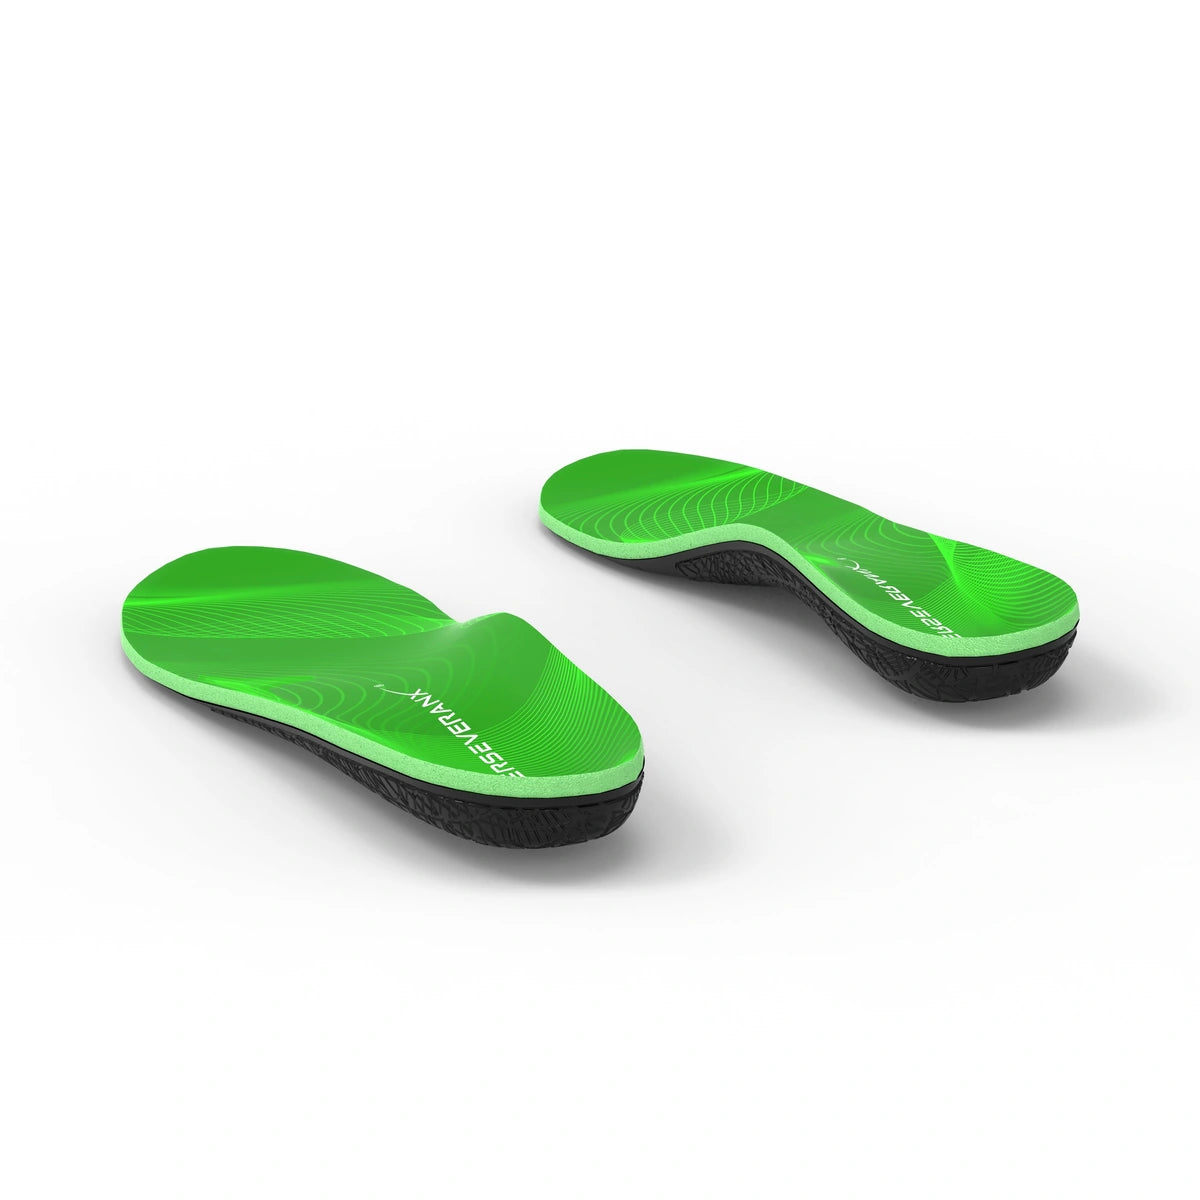
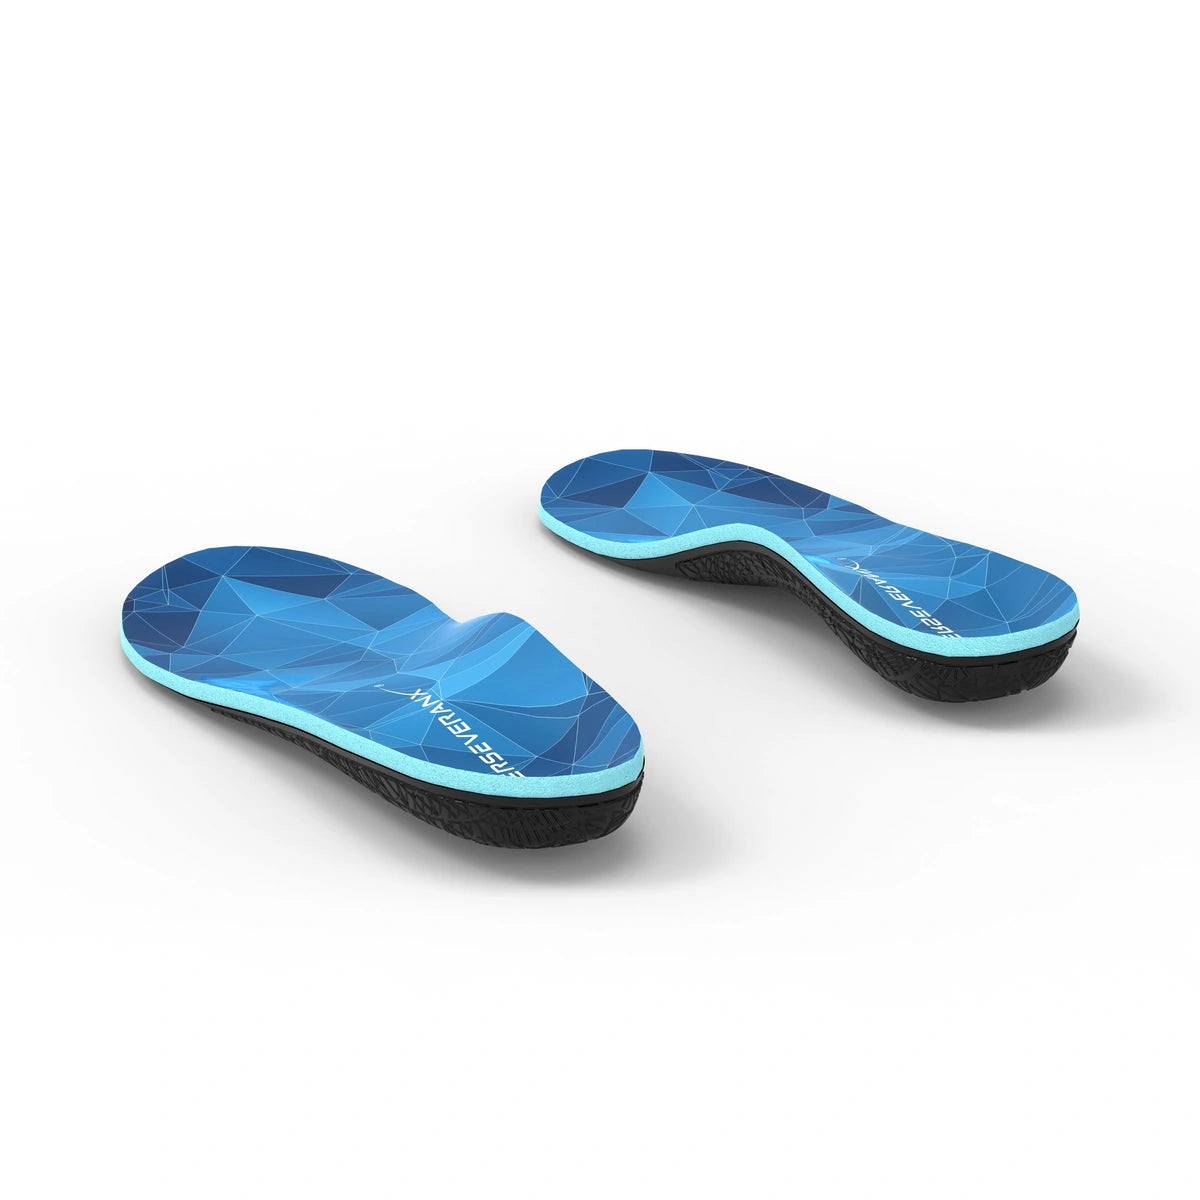
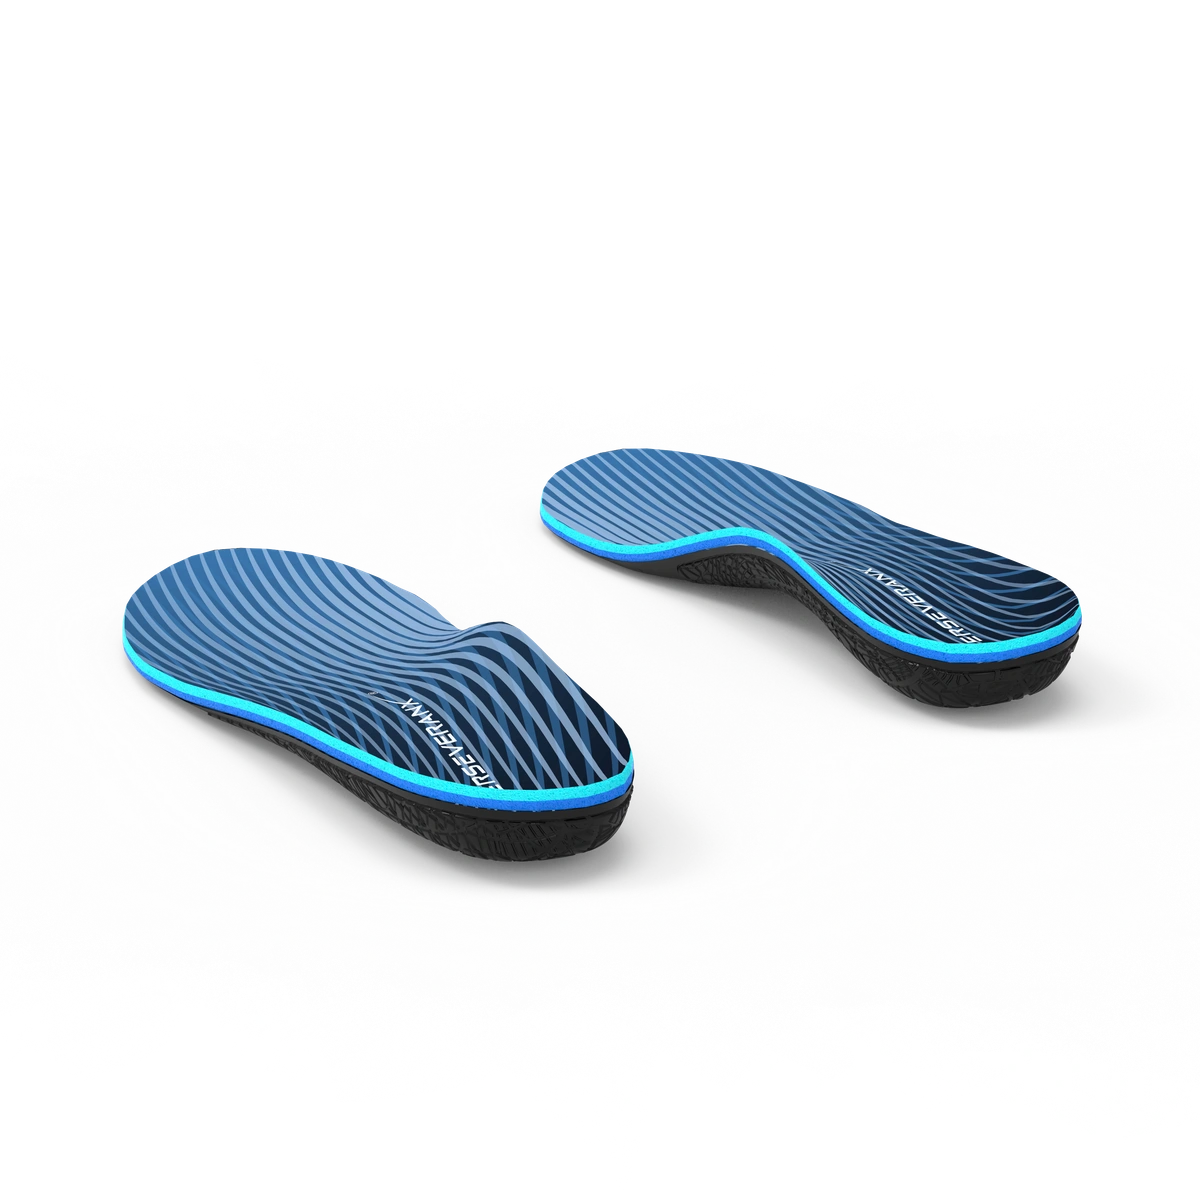
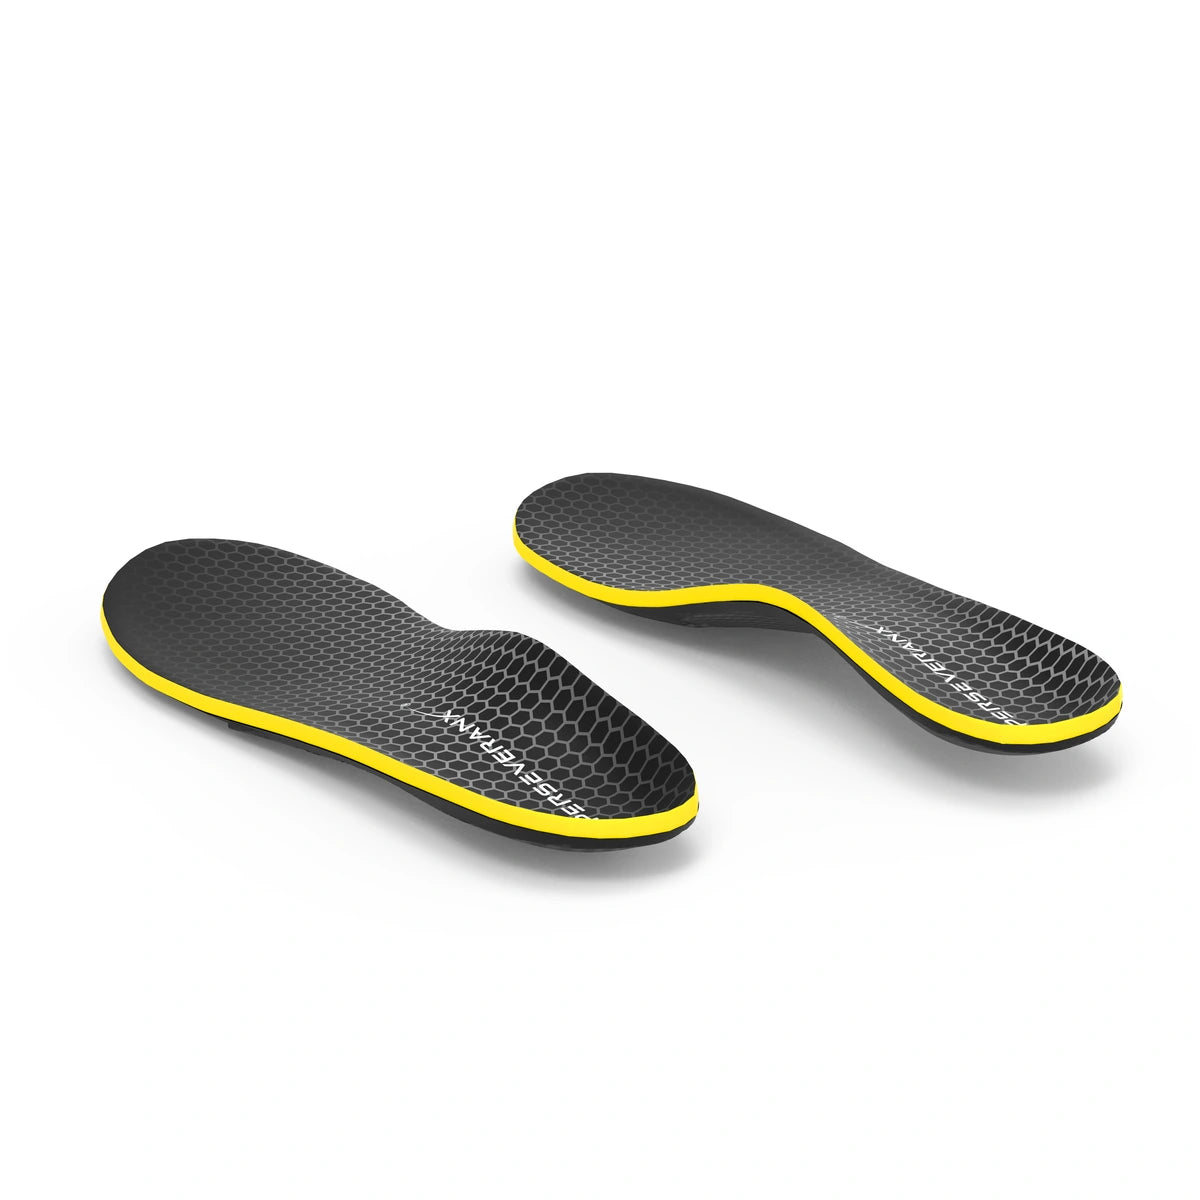
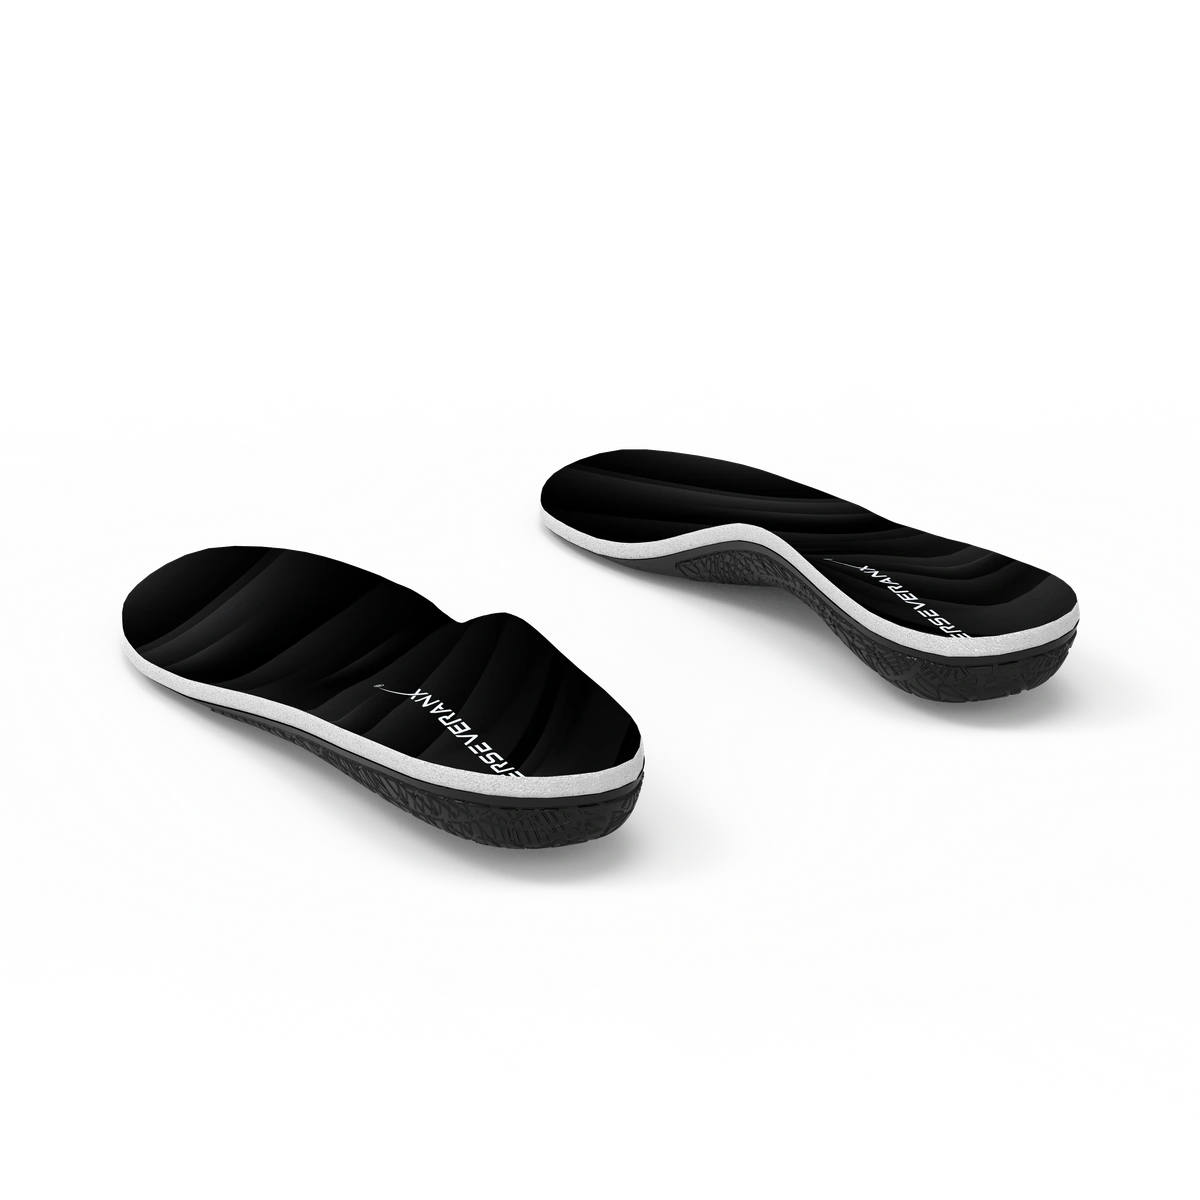
Room to move your toes.
Your toes and the top of your foot should have space. The insole should lie flat, without curling or buckling.
Pair savings
Mix models, sizes and colors.
Applied automatically in cart. No code needed.
Your total number of pairs sets your saving: 15% for 2 pairs, 17.5% for 3, or 20% for 4 or more. Cannot be combined with other discounts.
International shipping calculated at checkout. Taxes calculated at checkout.
Size & shoe fit
Choose the US size in the shoes you’ll use. The same chart applies to all five models.
No arch-height test needed.
Use the size printed inside your usual pair of shoes.
Your PerseveranX size
Choose aboveYour matching size will appear here.
This matches our size chart. Your shoe’s shape and internal space still matter.
Pick the size first. Your cushioning preference won’t change the size range.
| Insole size | US men | US women | Insole length |
|---|---|---|---|
| XS | 4.5–6.5 | 5.5–7.5 | 9.92 in 25.2 cm |
| S | 7–8.5 | 8–9.5 | 10.63 in 27.0 cm |
| M | 9–10.5 | 10–11.5 | 11.22 in 28.5 cm |
| L | 11–12.5 | 12–13.5 | 11.81 in 30.0 cm |
| XL | 12.5–14.5 | 13.5–15.5 | 12.40 in 31.5 cm |
Between L and XL? US men’s 12.5 and women’s 13.5 appear in both ranges. Compare the lengths with your removable insole before choosing.
Length is a reference. These are untrimmed insole lengths, not foot measurements. Width, arch position and room inside the shoe also affect fit.
When you want to double-check
Take out the original insole if it’s designed to come out. Place it flat and measure the longest heel-to-toe distance.
Compare that measurement with the chart, then compare the outlines with the heels aligned. Don’t use the length of your bare foot.
Back to the chartA size match is the start
Your new pair replaces the removable insoles in your shoes. Lace up with your usual socks and check these three things.
Your toes and the top of your foot should have space. The insole should lie flat, without curling or buckling.
The raised area should meet your arch comfortably. A sharp pressure point means the fit needs another look.
Your heel should sit in the cup, with enough shoe around it. It shouldn’t be pushed up out of the shoe.
Check the room above your foot and around your toes after replacing the original insole. Cutting the front shorter won’t fix a shoe that lacks depth or an arch that presses in the wrong place. Keep the heel and support frame intact.
Leave it in place. Don’t force it out or assume there is room to stack another insole on top. Ask us about your shoe before choosing.
Only if needed
Use the original insole’s forefoot outline as your guide. Take off a little, then check again.
Lay the original removable insole over the new one. Align the heels, then compare the forefoot outlines.
Follow the original forefoot outline with small cuts. Leave the heel, raised arch and support frame intact.
It should lie flat in the shoe. Try it with your usual socks and check toe room, arch contact and heel position before cutting more.
These are the details worth knowing before you choose.
No arch-height label is needed to choose between our five models. They share a raised support profile, with different cushioning feels. Match your shoe size, then check where the support meets your foot. No single shape fits every foot equally.
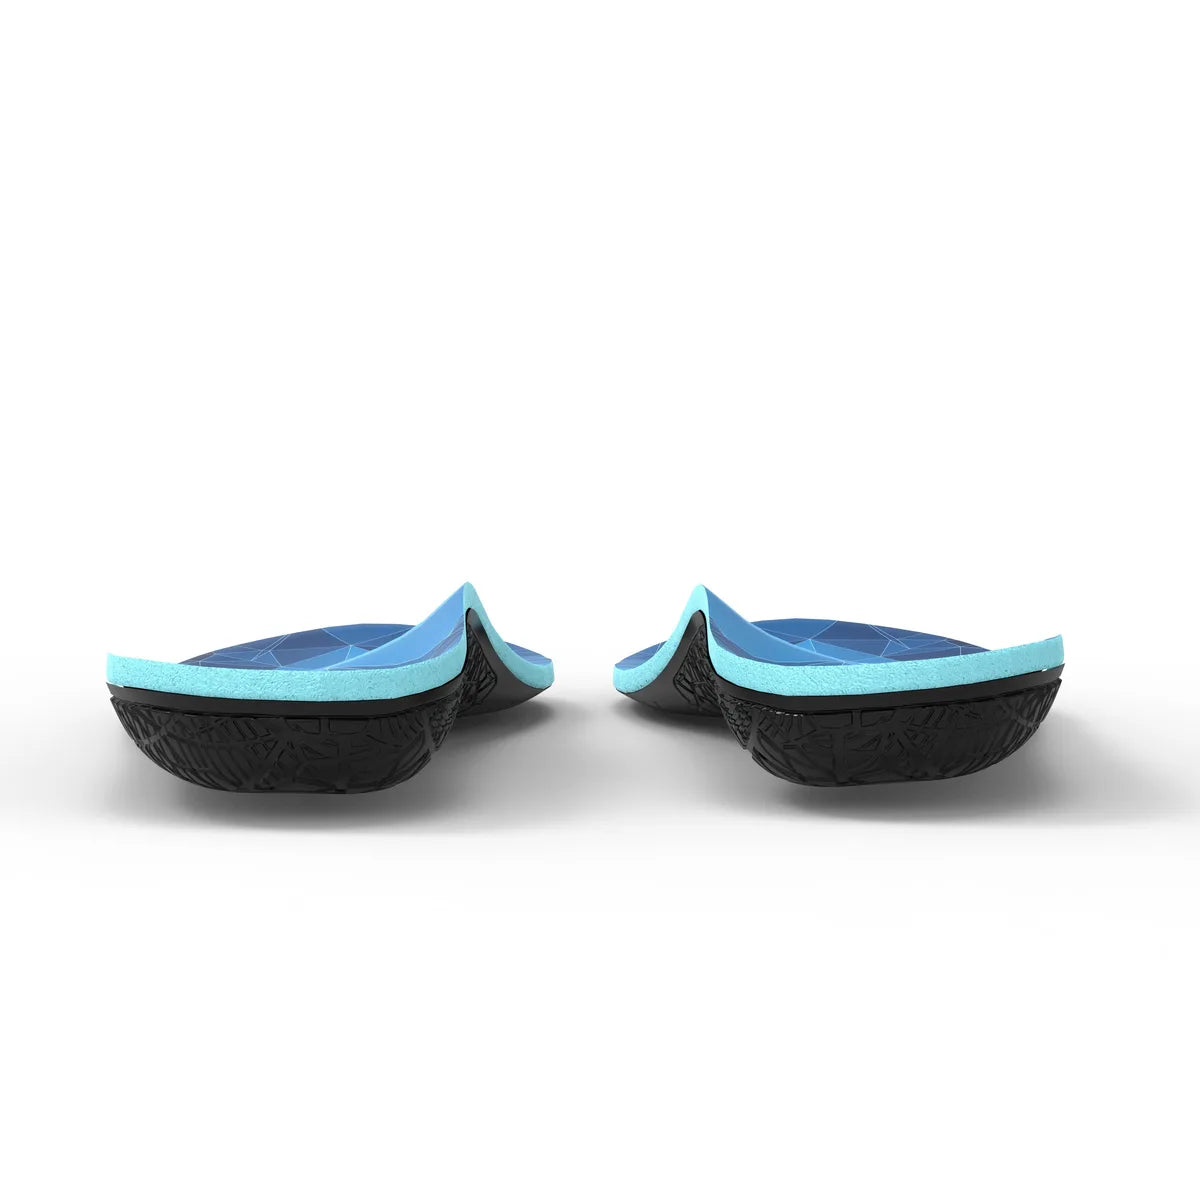
No. Approximately 0.16 in (4 mm) is the cushioning layer alone. The shaped middle layer, frame and cover add to the profile. Check the room in your actual shoe, especially above your foot and around your heel.
See the three layersDon’t choose a larger size solely to cut it down. That can change where the arch and heel sit beneath your foot. Contact us with your usual shoe size and shoe model so we can help you assess the options.
Start with the size in the shoes you plan to use most. If you move the insoles to another pair, check again: internal length, width and depth can differ even when the printed sizes match.
Check that the heel is seated and the contour meets your arch in the right place. Don’t cut the support frame or try to force a painful fit. If the pressure remains uncomfortable, contact us about the fit or use the return process.
Yes. Request a return within 30 days of delivery, including worn or trimmed pairs. Email perseveranx@gmail.com with your order number and wait for the prepaid label and instructions before sending them back. To change size or model, return the original pair and place a new order.
Read the full return policyTry your pair in your own shoes.
Worn or trimmed pairs are included.